This is an in-Wordpress illustration of some of the various ways to set up images or information blocks in columns/rows, blocks, and galleries. All of this requires the advanced editor; the default editor simply doesn’t have the capability.
This site will eventually have a companion printed guide that will identify the sequence of steps by showing actions and results. In the meantime, a brief description of the examples presented will be included here.
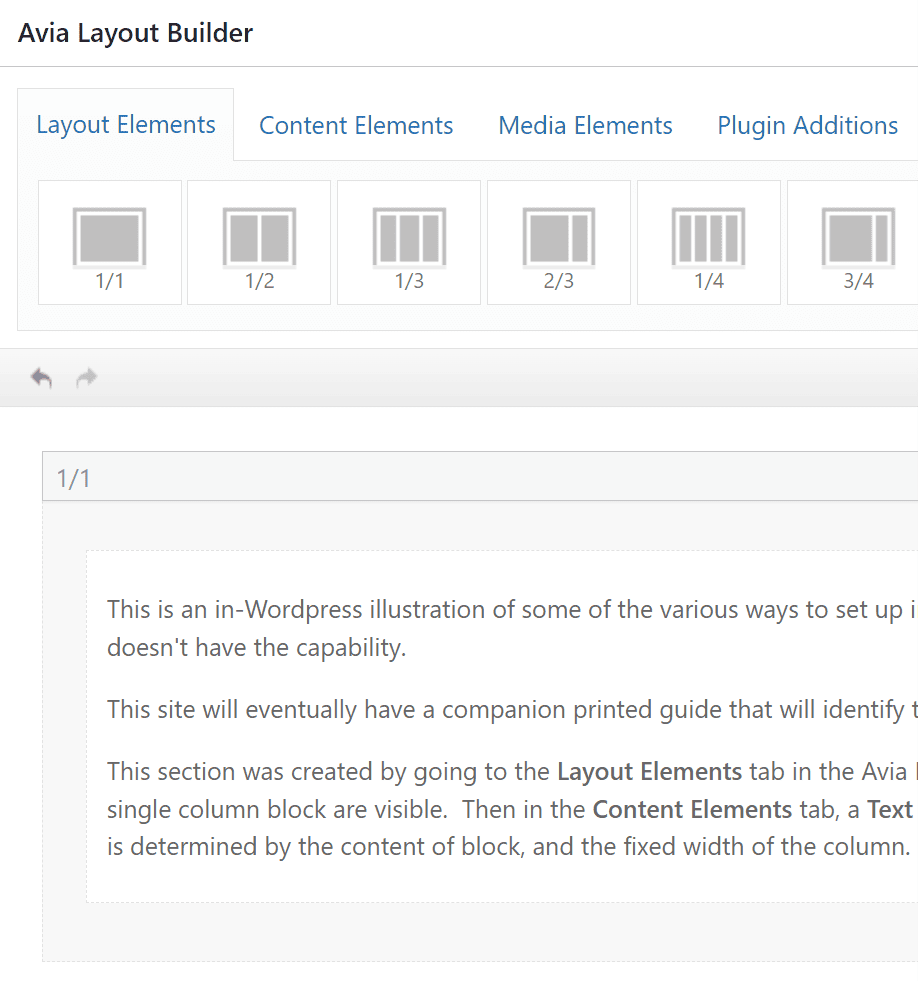
This section was created by going to the Layout Elements tab in the Avia Layout Builder header, and dragging the icon for a single column block into the active area below the header. The faint margins of the single column block are visible. Then in the Content Elements tab, a Text Block was dragged into the previously established column. You can enter text (and more, see below) into the Text Block, the width of which is determined by the content of block, and the fixed width of the column. The text you are reading illustrates the maximum width of the total post, as a single column.
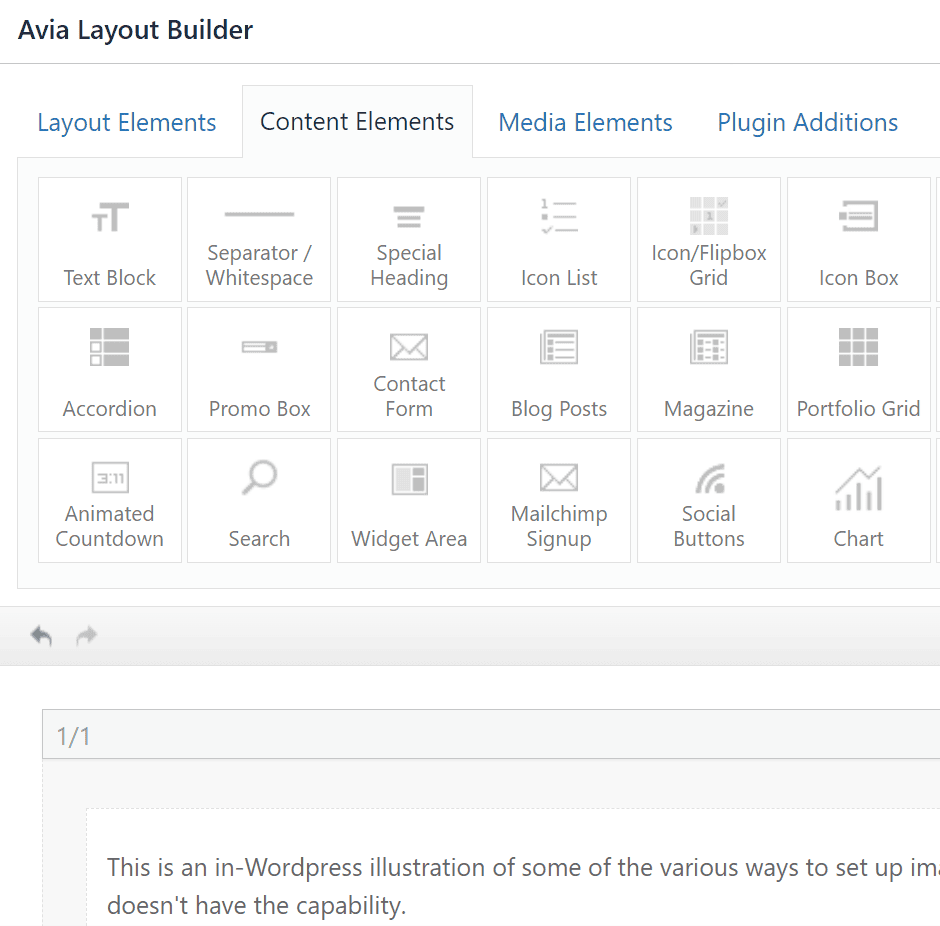
Images can be added to the Text Block just as they are to the default editor — position the cursor, click the Add Media button, and select/upload the desired image. Also like the default editor, the image can be sized by dragging a corner (but the changes may not be preserved when updating!), and positioned on the page and relative to the text with the menu that appears when the image is left-clicked. On the left below is the Layout element menu showing the 1/1 column block that is dragged down to set up the column. Additional images can be added to the Text Block — on the right below is the Content Element menu that shows the draggable Text Block icon. The vertical position of the images cannot be adjusted by hand or keyboard, but they will move down as text is added directly above them.
Text can be added beside, between or below images (see below for example of text at bottom of image).
Example of text addition below an image — a convenient way to create free-form captions
Use of the advanced editor in this way is somewhat easier and more flexible than the default editor for presenting (e.g.,) side-by-side images. For more extensive or complex presentations some of the option below will be both more powerful and more convenient.
An example of text below image — it is just a continuation the text above, but it could be formatted to act a captions.
The next step is to look at the use of multiple columns. To experiment with a row of 5 images, go back to Layout Elements and drag the 1/5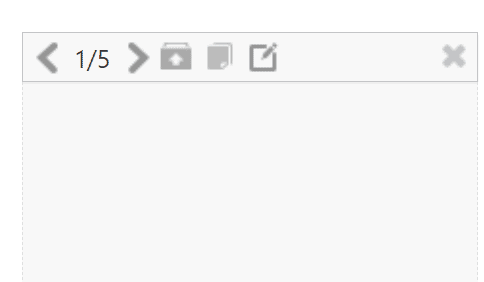 icon below the bottom of the current column. You will get a single column 20 % of the total width. To create the other 4 columns go to the menu in the upper right corner of the column block; the right hand icon is “edit column,” the middle is “clone,” the left is “save element as template, and the bracketed fraction indicates column width. Each time you click “clone,” the column will be duplicated to the right of the original.
The element immediately below is a 5-block column; we’ll do some demonstrations to see how these work out with images in Text Blocks and Image Blocks (found under the Media tab). The 5 columns will be referred to by the numbers 1-5, from left to right.
Column 1 — inserted into text Block from Media library — the caption that was entered into the library comes with it.
Column 2 — same as 1, but library caption was deleted and a replacement typed into the Text Block
Column 3 — same as 1, but the replacement caption was typed in above in Paragraph font before uploading the image and deleting the library caption.
Column 4 — same as 3, but the replacement caption was converted to Heading 6 font before inserting the image.
Column 5 — Image inserted into Image Block — as far as I can tell, any modifications will have to be made to the image before it is uploaded.
Comments: The mismatch between image size and caption font is probably due to the font having been set for use with larger images in the default editor. Changing font size is not difficult, but it does require knowing how to make a modification in the html code. I was able to resize (reduce) the image in edit mode, but the changes were not preserved.
The image on the next row lower is the same as column 4, but it is in a 1/3 width column instead of 1/5 — better size and caption font values.
Note — if you click the “edit” icon in thje first column, you get a page that allows you to adjust row height, spacing, margins, etc.
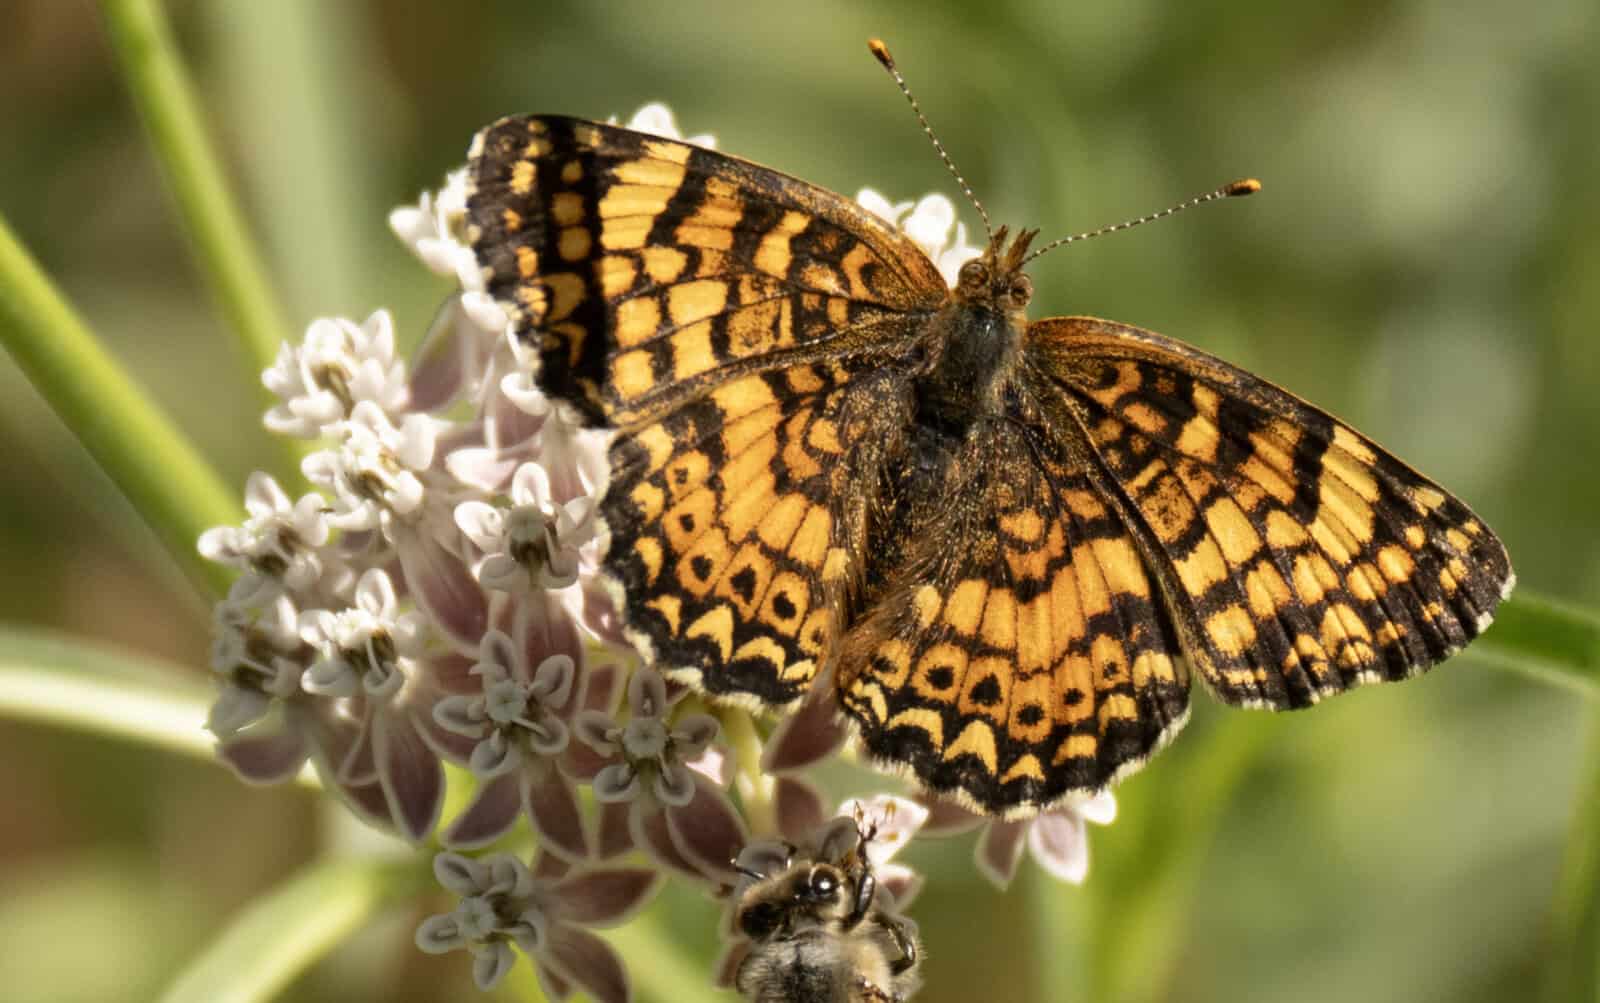
Mylitta Crescent, common on campus
Alternative caption, added after inserting image and deleting included caption
The Mylitta Crescent butterfly is a common visitor to the RVM campus.
The Mylitta Crescent butterfly is a common visitor to the RVM campus.
This is a test replacement caption


